Ruler In Google Docs

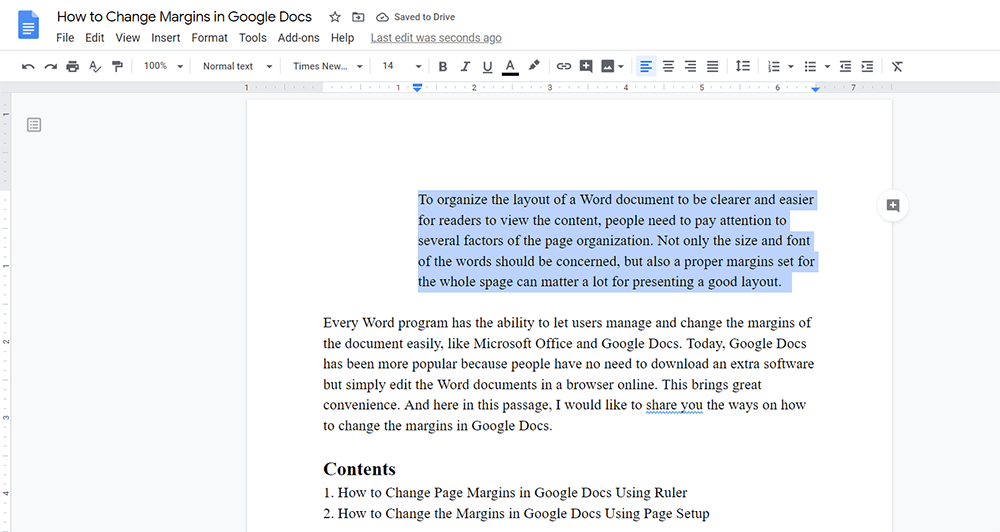
How To Change Margins In Google Docs
blog.cometdocs.com

How To Add Outline In Google Docs Master The Outline Tool
www.technorms.com

How To Control Margins In Google Docs
www.howtogeek.com

How To Control Margins In Google Docs
www.howtogeek.com
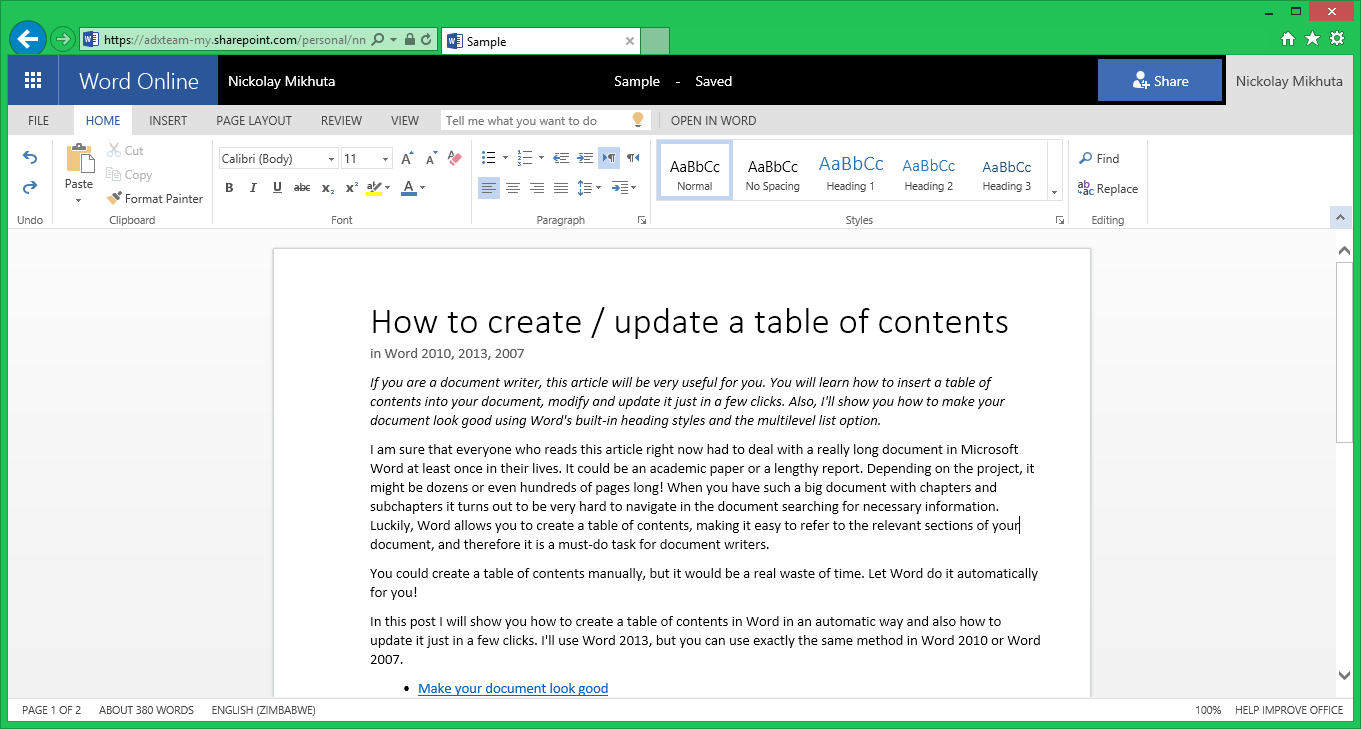
Word Online Vs Google Docs
www.ablebits.com

Google Operating System Google Docs Tests Pagination
googlesystem.blogspot.com
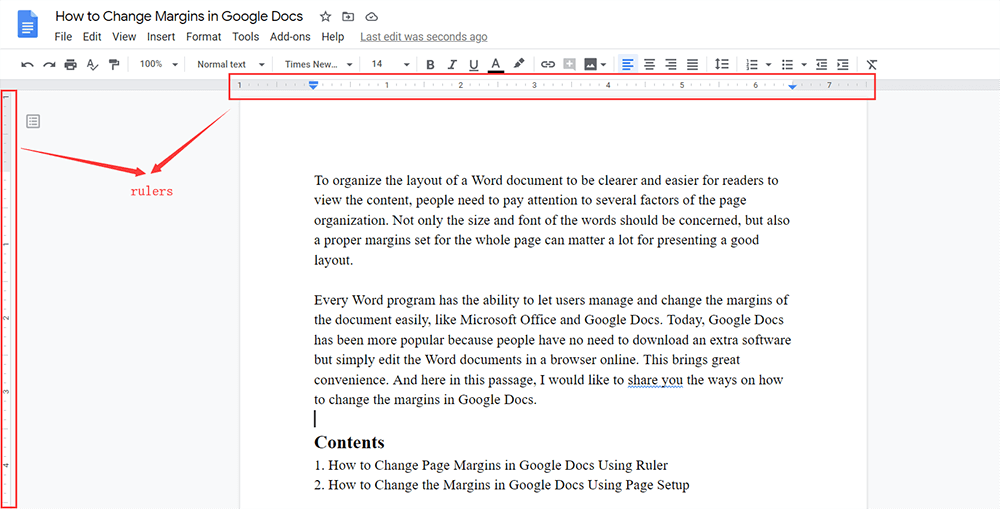
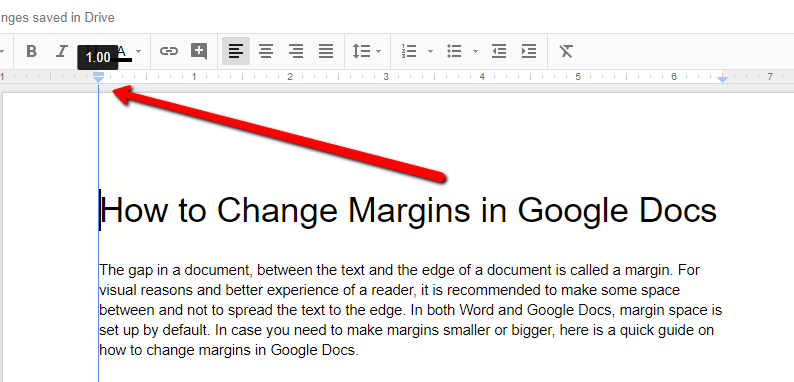
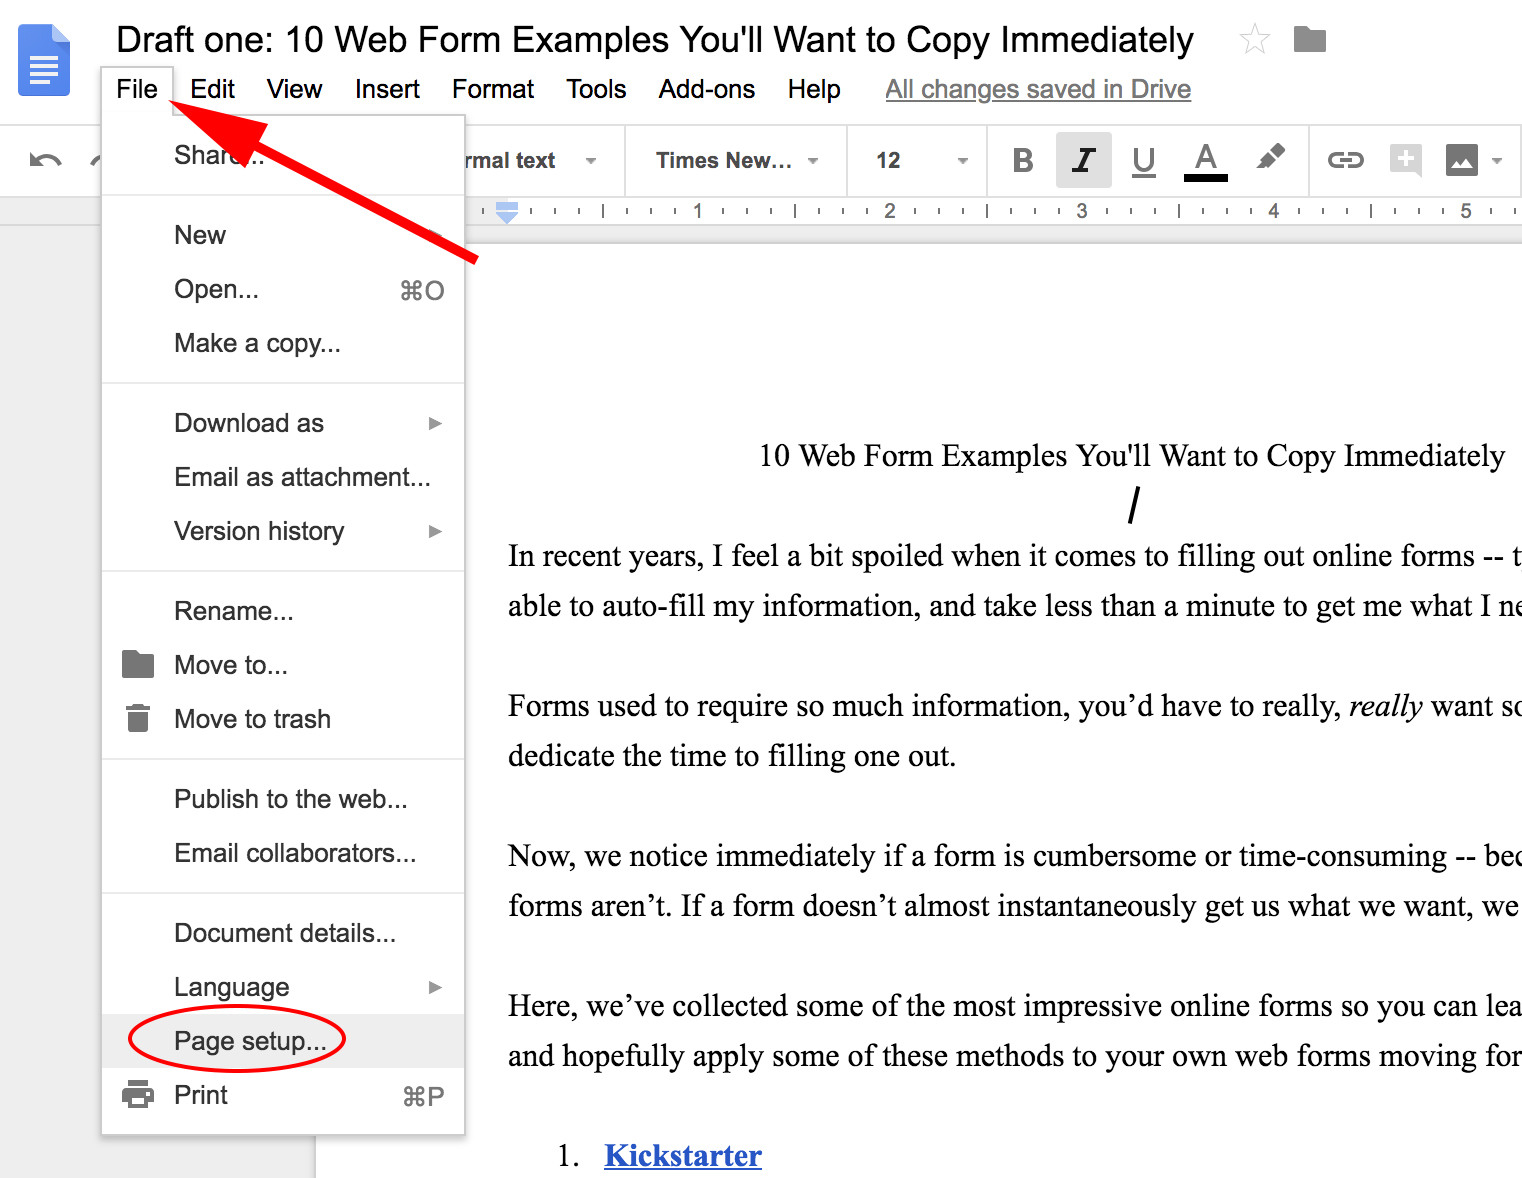
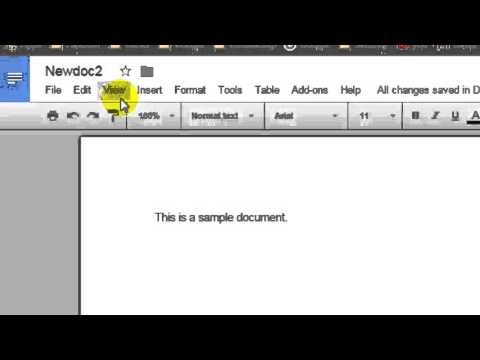
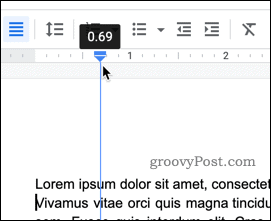
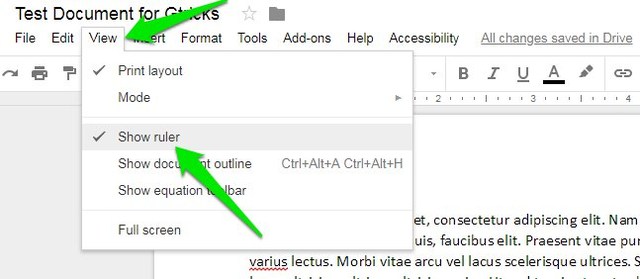
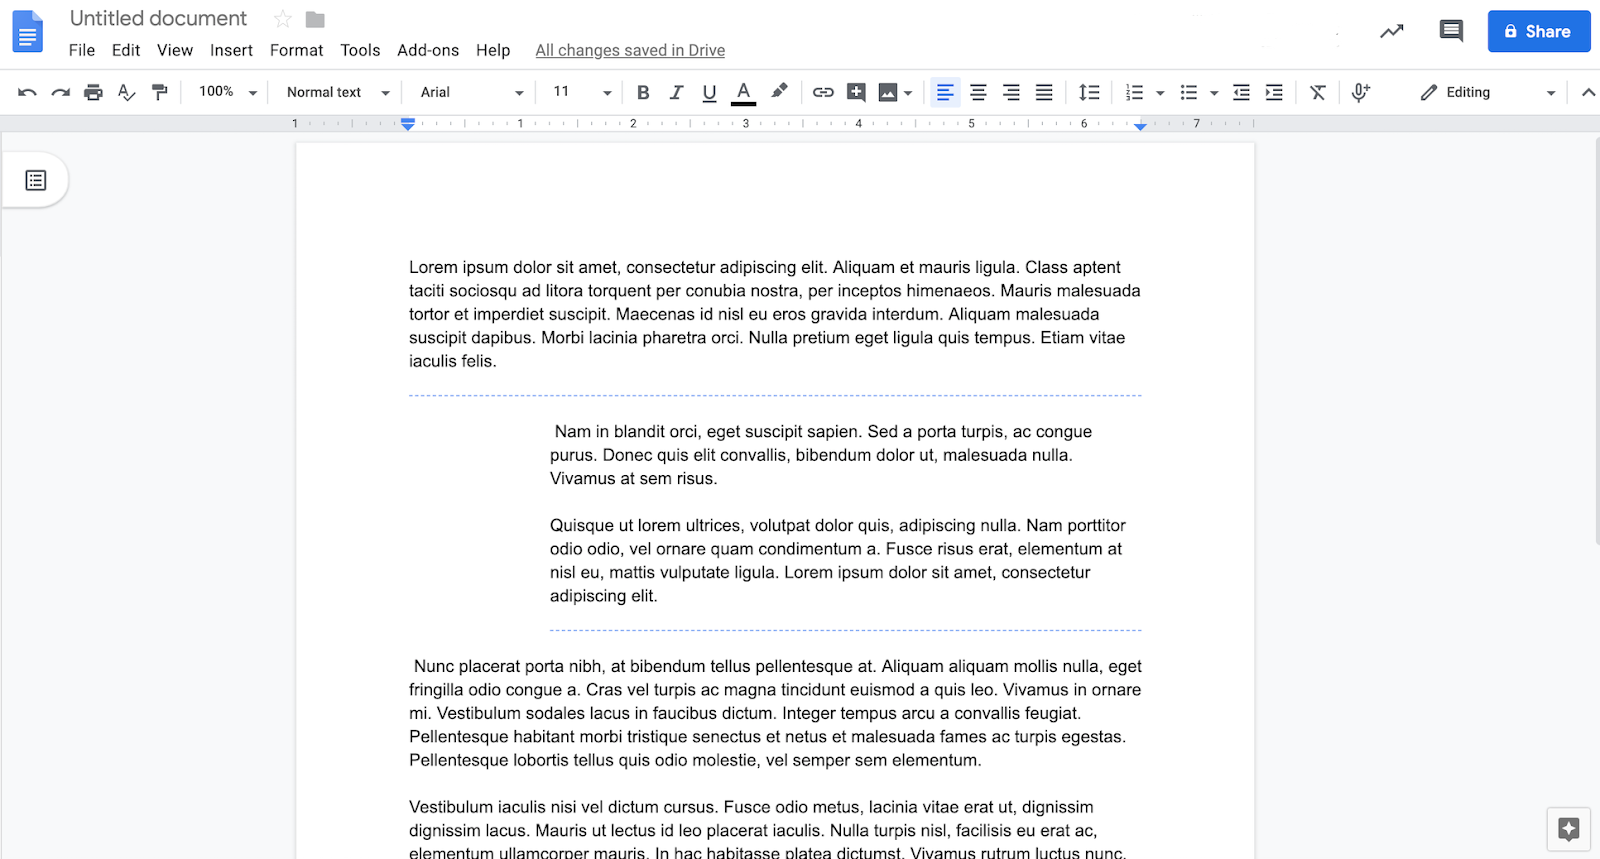
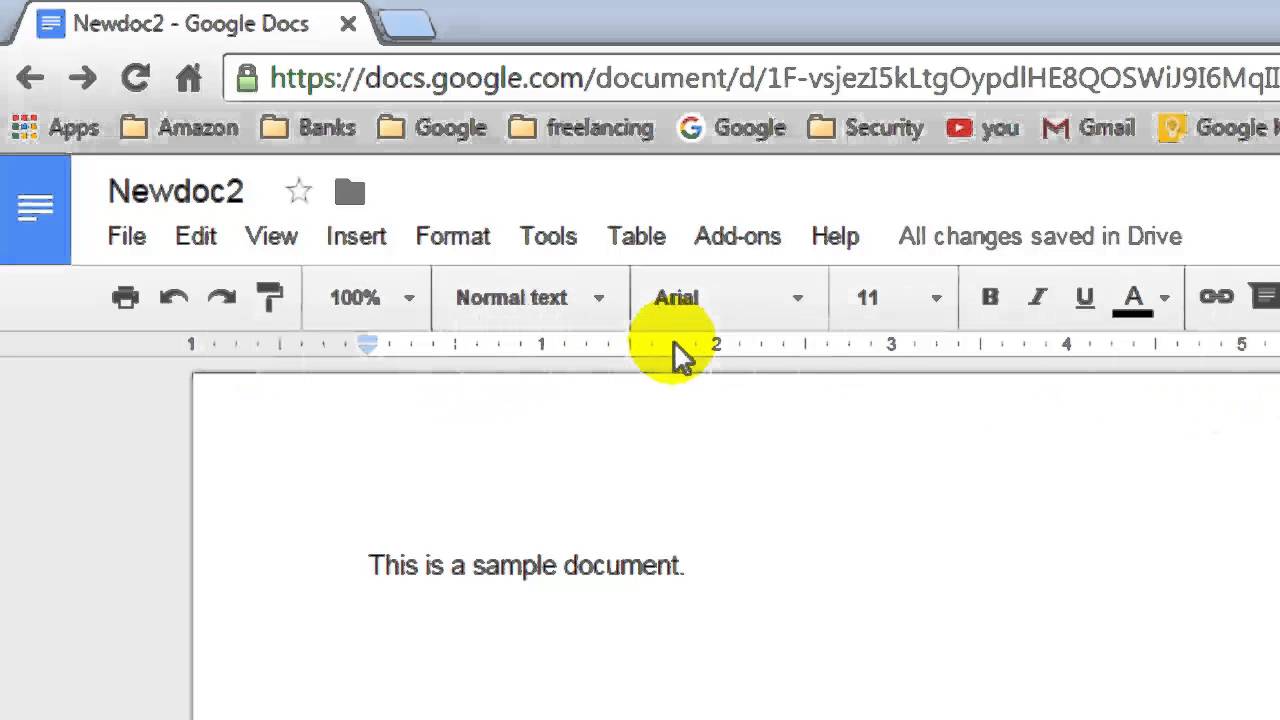
Locate the ruler at the top of the document.

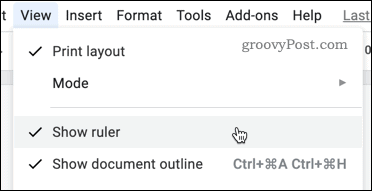
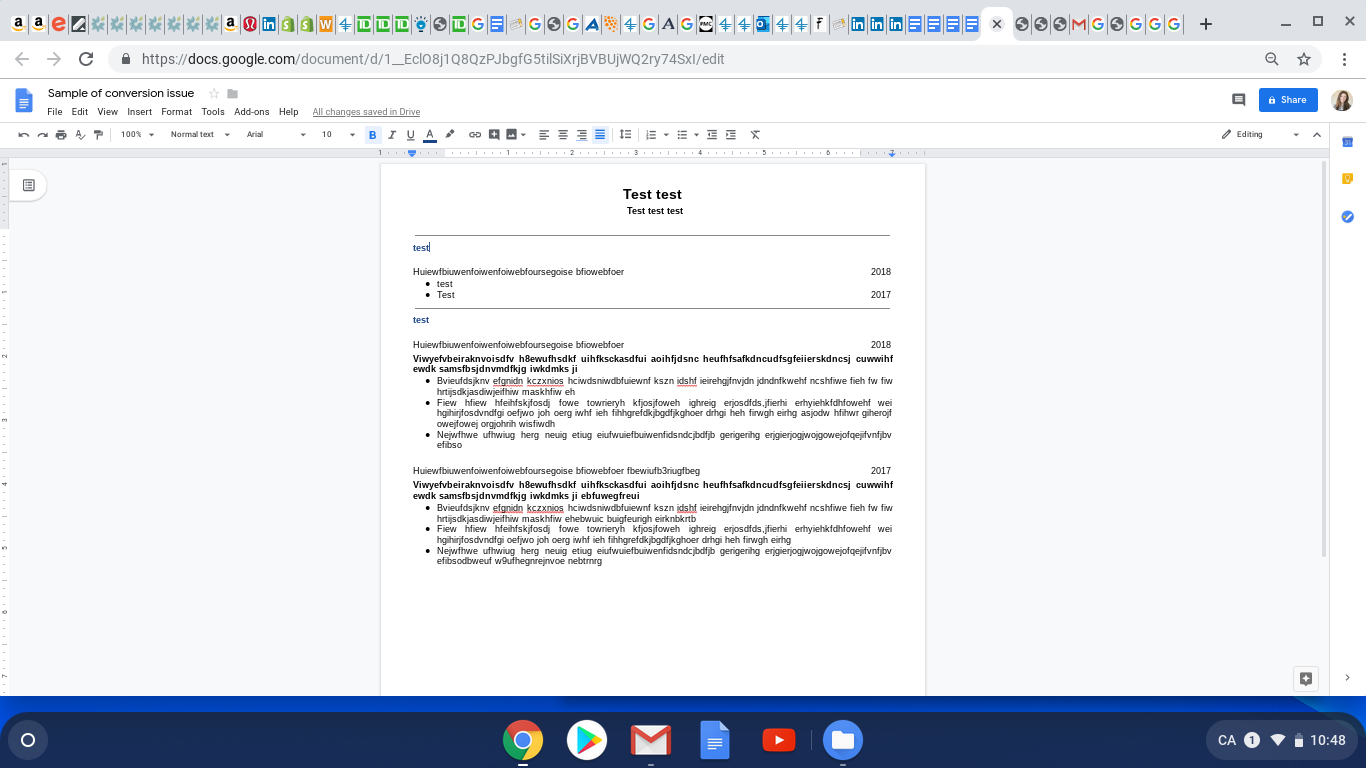
Ruler in google docs. You can even rotate the ruler. Subtitles will not appear in the outline. The top ruler controls the left and right margins while the other one controls the top and bottom margins.
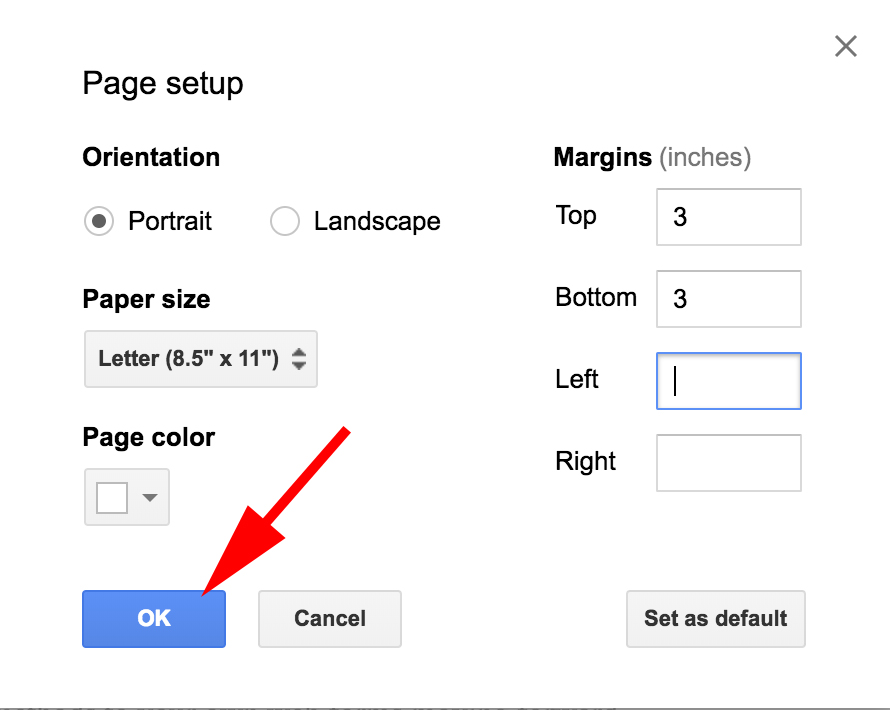
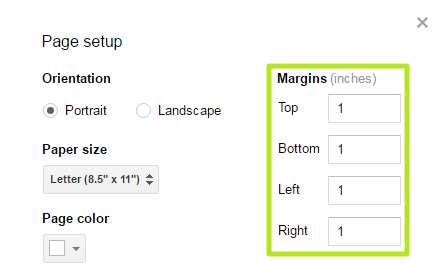
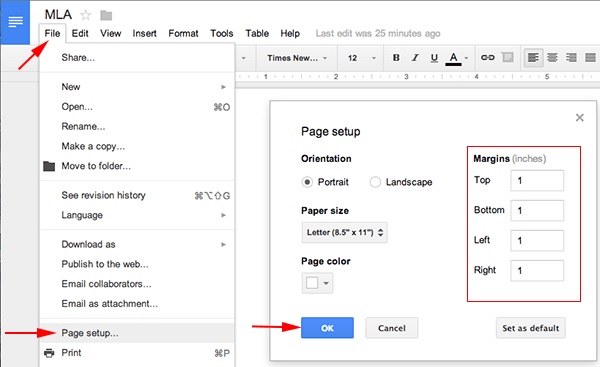
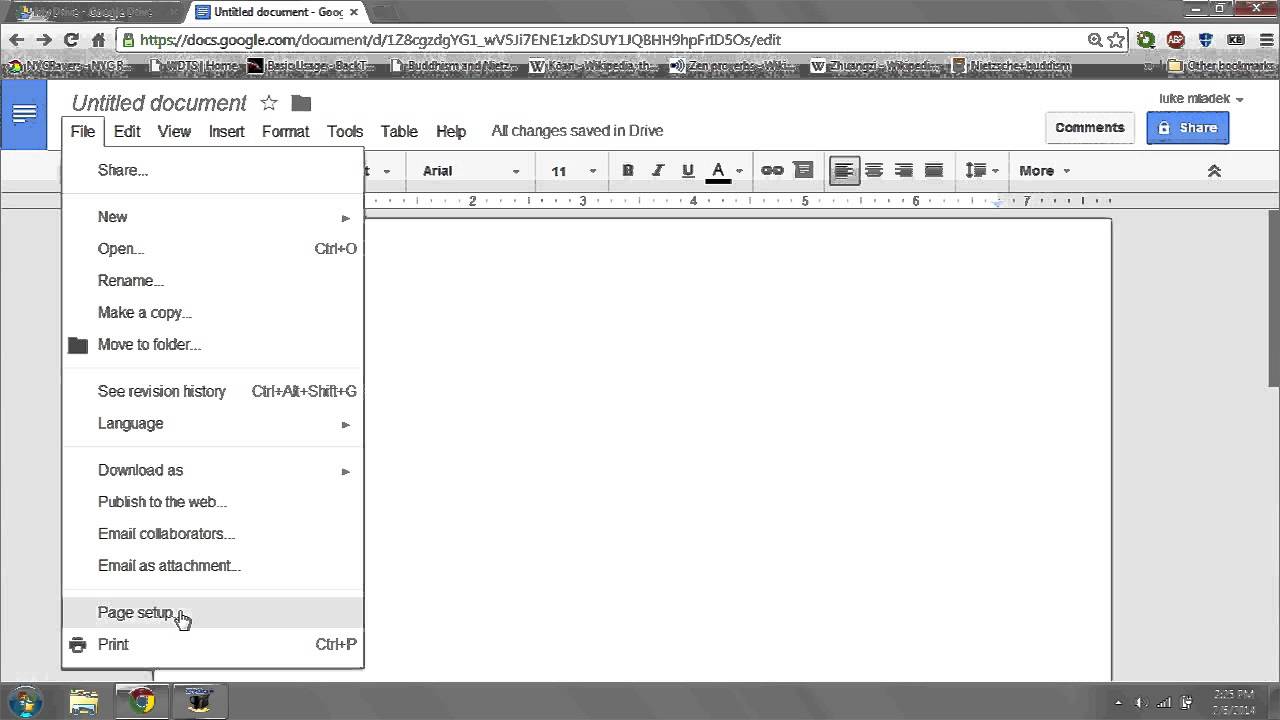
Change the paper size drop down to the size of your choice. This update is googles response to user feedback for improvements in page layout and table manipulation. Store documents online and access them from any computer.
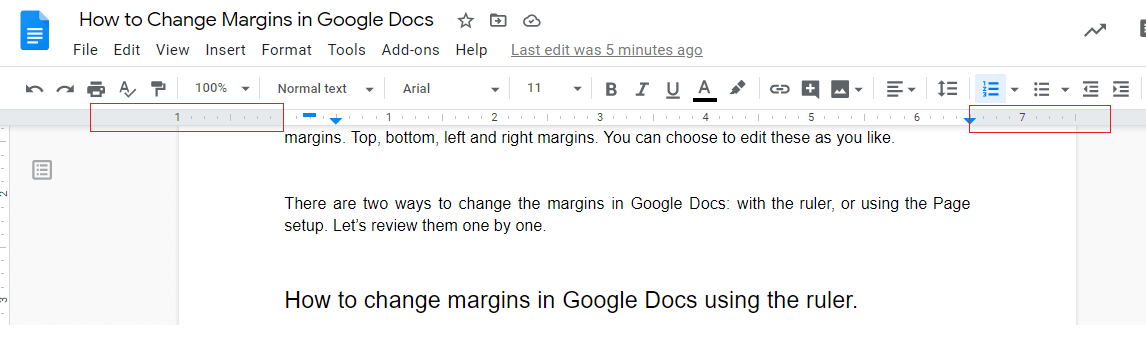
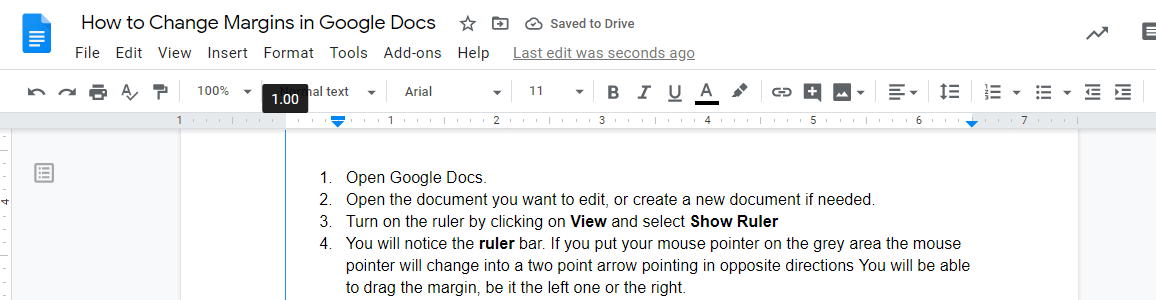
Using the ruler allows you to set margins quickly with intuitive click and drag functionality. If you have multiple sections click file. Google docs will automatically add headings to an outline but you can also add them manually.
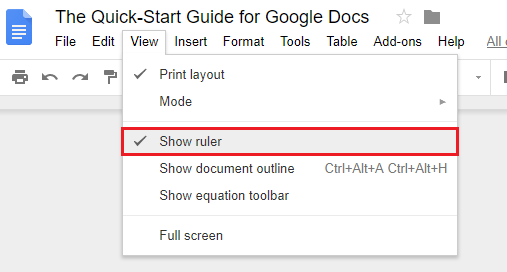
Repeat this step to hide the ruler. The heading will be added to the outline. How to customize a google docs ruler.
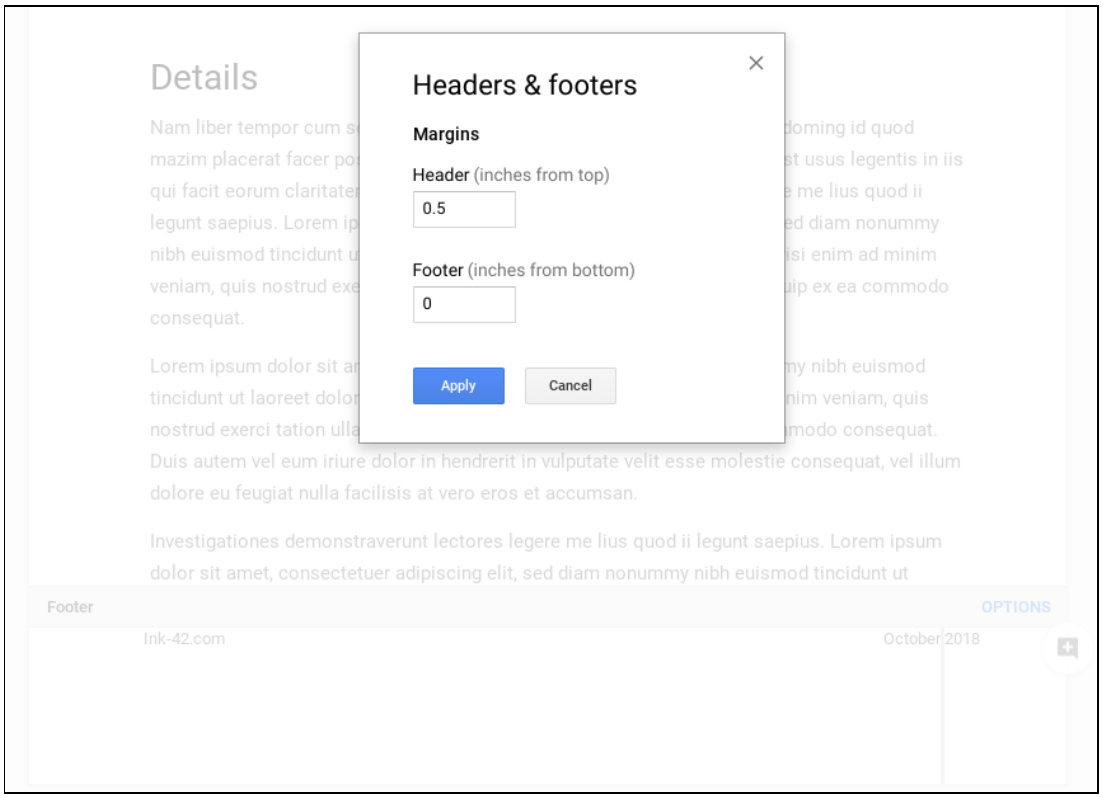
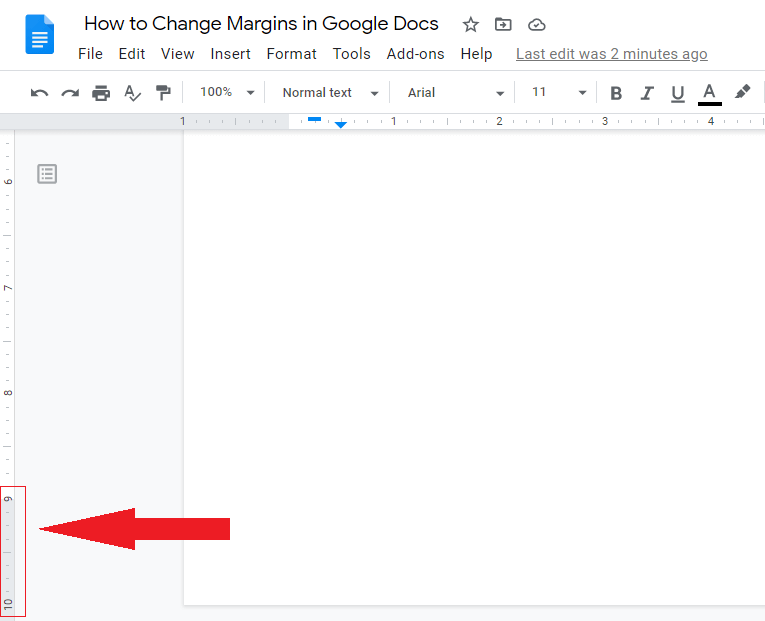
The margin line is the line on the ruler between the margin and the usable area of the document. To access the new vertical ruler. Click and drag the margin line to adjust the padding.
Tap a heading style. Select a section of your text graphics or images. Click view then show ruler to make the ruler visible.
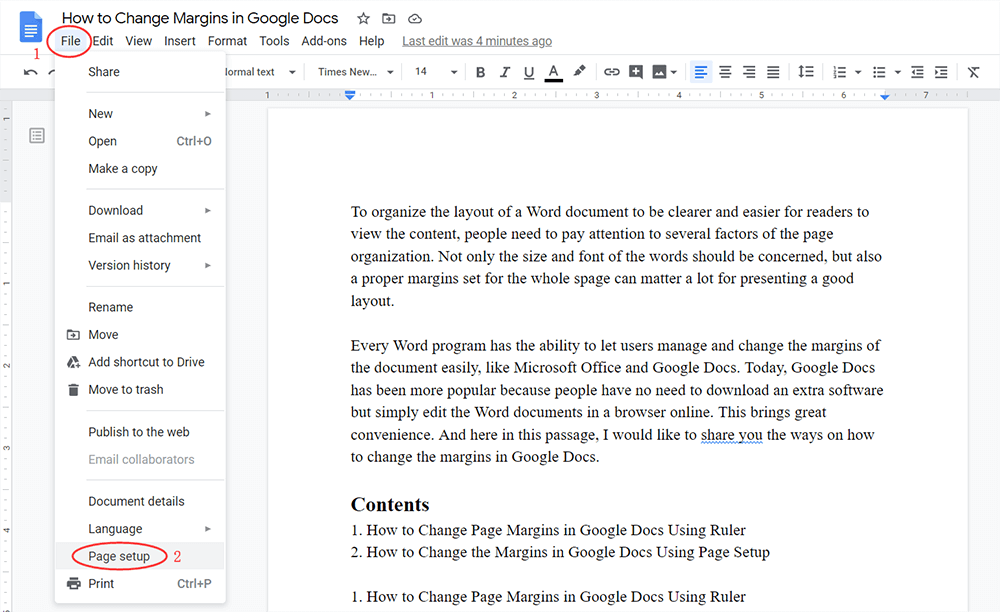
Google recently implemented a new vertical ruler in docs that will help you to adjust your page margins the height of a table row and the margins of your header and footer. Create and edit web based documents spreadsheets and presentations. Click file then page setup to change the size of your page.
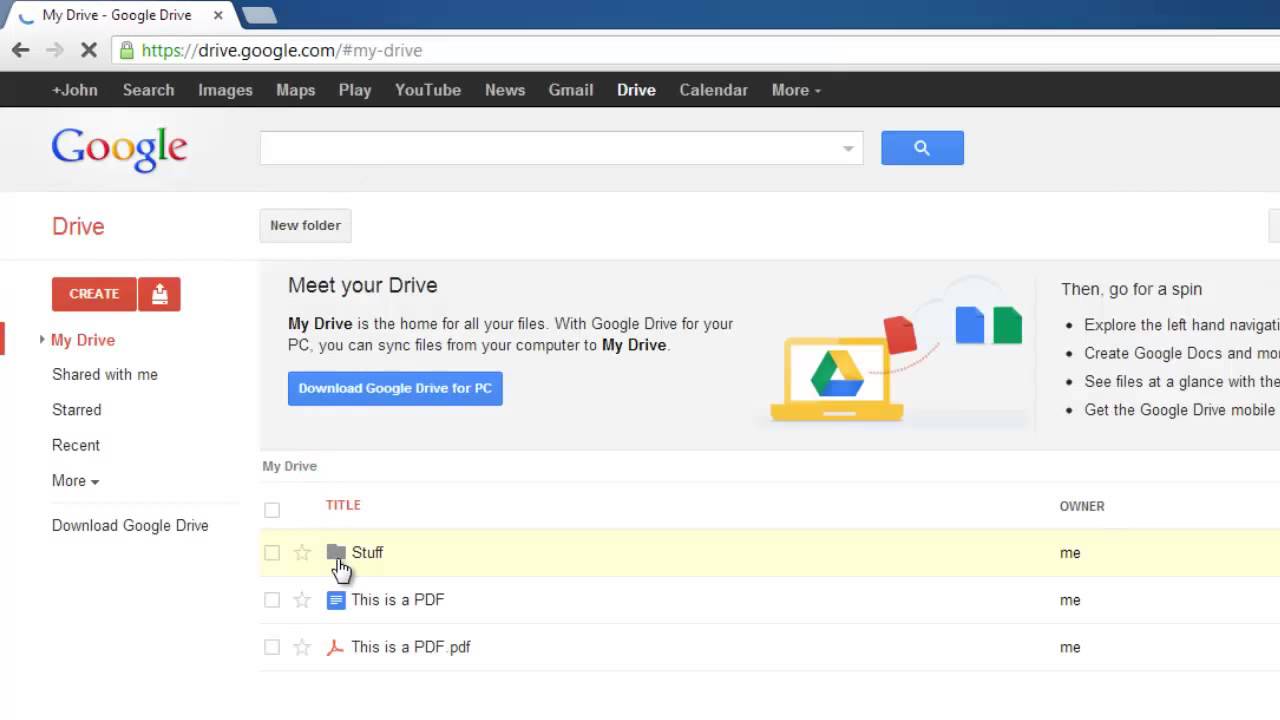
Open a google doc. The gray area on the ruler indicates the current margin. Select the text you want to make a heading.
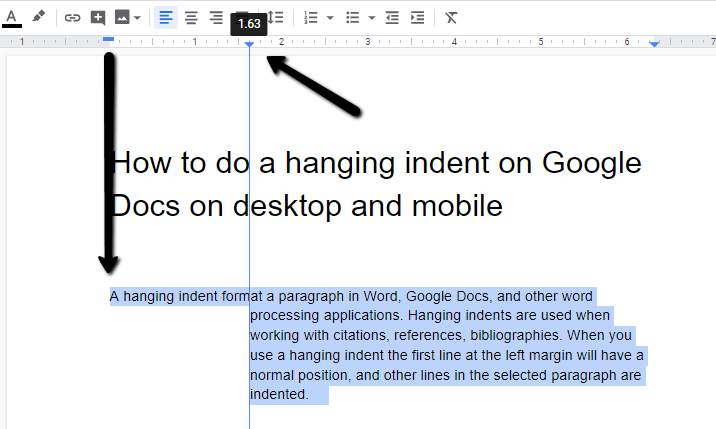
So comfortable to have a ruler on your screen especially when you buy things and you need to know how big the given measurements in real are. At the top drag the triangle to where you want the margin to be. Open a document in the google docs app.

How To Change Margins In Google Docs Officebeginner
officebeginner.com

Google Adds Vertical Ruler In Docs Office Of Information Technology
oit.ncsu.edu

How To Change Margins In Google Docs Applicable For All Margins
www.regendus.com
How To Change Margins In Google Docs
www.easepdf.com

How To Change Margins In Google Docs Android Authority
www.androidauthority.com
How To Change Margins In Google Docs Softwarekeep
softwarekeep.com

The Ultimate Guide To Google Docs
blog.hubspot.com

10 Reasons Why Google Docs Is Better Than Word In Microsoft Office 365 The Latest On Accounting Tech For Smes
digitalfirst.com
G Suite Updates Blog Vertical Ruler Improves Table Management In Google Docs
gsuiteupdates.googleblog.com

How To Change Margins In Google Docs Sereneteh
www.sereneteh.com

How To Change Margins In Google Docs
www.groovypost.com

G Suite Updates Blog New In Google Slides Linking In Docs Guides And Rulers And Improved Commenting
gsuiteupdates.googleblog.com
How To Change Margins In Google Docs
blog.cometdocs.com
/001-using-the-google-docs-outline-tool-4177466-f6938eb2a90442e5b2b7bc1f9b18d31c.jpg)
How To Use The Google Docs Outline Tool
www.lifewire.com

How To Create A Hanging Indent In Google Docs Faq Print Layout Academic Writing American Psychological Association
www.pinterest.com
How To Do A Hanging Indent In Google Docs Business Insider
www.businessinsider.com
How To Change All Margins In Google Docs Faq
blog.hubspot.com

How To Change Margins In Google Docs
www.easepdf.com
How To Change Margins In Google Docs Softwarekeep
softwarekeep.com
Https Encrypted Tbn0 Gstatic Com Images Q Tbn 3aand9gcto0kywyg49ykgbmesu522ghkwltwitjt0dkit4jm5w2umwklnd Usqp Cau
encrypted-tbn0.gstatic.com
How To Change Margins In Google Docs
www.easepdf.com

How To Change Margins In Google Docs Applicable For All Margins
www.regendus.com

How To Change Margins In Google Docs
www.easepdf.com

Google Docs Margin Ruler Image Handling Comments
www.addictivetips.com

How To Change Margins In Google Docs Softwarekeep
softwarekeep.com
Https Encrypted Tbn0 Gstatic Com Images Q Tbn 3aand9gcqlwsjyv2k7l6mw90xma Erjfa0sss Itcxka Usqp Cau
:max_bytes(150000):strip_icc()/GDocs_Indent_05-85b3e937a49b4d9e988fef945d8b3437.jpg)
How To Indent On Google Docs
www.lifewire.com

Grid Ruler
chrome.google.com

How To Change Margins In Google Docs 2020 Get Online Solution
getonlinesolution.com
How To Change All Margins In Google Docs Faq
blog.hubspot.com

How To Indent Paragraphs In Google Docs
www.howtogeek.com
How To Change Margins In Google Docs
www.groovypost.com

How To Indent Paragraphs In Google Docs
www.howtogeek.com

Google Docs 1 The Basics Learning G Suite Apps Script
www.bazroberts.com

Show Ruler Google Docs Candid Technology
candid.technology
How To Show Ruler In Google Docs Youtube
www.youtube.com

The Ultimate Guide To Google Docs
blog.hubspot.com

Google Docs Using Indents Tabs And Lists
oer2go.org

Google Docs Ruler Inch Vs Cm Youtube
www.youtube.com
How To Change The Margins In Google Docs In Two Ways Business Insider
www.businessinsider.com
Google Docs Using Indents And Tabs
edu.gcfglobal.org

View Ruler Google Docs Avantix Learning
www.avantixlearning.ca

How To Change Margins In Google Docs Solve Your Tech
www.solveyourtech.com
How To Do A Hanging Indent On Google Docs On Desktop And Mobile
blog.cometdocs.com
:max_bytes(150000):strip_icc()/222ruler-1-be2eea4cbaa749cc9760ef7a63ee0b71.jpg)
Gohgzvhsfdearm
G Suite Updates Blog Vertical Ruler Improves Table Management In Google Docs
gsuiteupdates.googleblog.com
Google Docs Ruler 2018 How To Show And Hide Youtube
www.youtube.com
Https Encrypted Tbn0 Gstatic Com Images Q Tbn 3aand9gcra0e1nqhz8y3zzaeeehmz6xwm46ljhskpnuzdquwgewqwyyldt Usqp Cau
encrypted-tbn0.gstatic.com

How Do You Let The Ruler Show In Google Docs Docs Editors Community
support.google.com

8 Google Docs Tips You May Not Have Known About Treehouse Blog
blog.teamtreehouse.com
How To Change Units Of Measure In Google Docs Youtube
www.youtube.com

Https Encrypted Tbn0 Gstatic Com Images Q Tbn 3aand9gcrsdk6f Egefsjbm La8z47iisu9fioq7sdfq Usqp Cau

How To Reset Google Docs Settings
www.guidingtech.com
How To Change Margins In Google Docs
www.groovypost.com
Https Encrypted Tbn0 Gstatic Com Images Q Tbn 3aand9gcsb4r8d32inerxyjv Tae 9kbhh4dsfz8wjm49n Igvmi5b2jvd Usqp Cau
encrypted-tbn0.gstatic.com

How To Change Margins In Google Docs 2020 Get Online Solution
getonlinesolution.com
Google Docs Is Off Center On My Mac Mildlyinfuriating
www.reddit.com
How To Use Guides And Rulers In Google Slides Youtube
www.youtube.com

How To Change Margins In Google Docs Makeuseof
www.makeuseof.com

Here S How To Do A Hanging Indent On Google Docs
www.gtricks.com

A New Vertical Ruler And New Margin Settings In Google Docs Google Docs Ruler Google
www.pinterest.com
How To Change Margins In Google Docs Laptop Mag
www.laptopmag.com
How To Change Margins In Google Docs
www.easepdf.com

How To Indent Paragraphs In Google Docs
www.howtogeek.com

Using A Ruler Protractor In Google Docs Youtube
www.youtube.com
How To Reset Google Docs Settings
www.guidingtech.com
Here S How To Do A Hanging Indent On Google Docs
www.gtricks.com
/1Googledocsdocument-92f06d29a3d64f9faa9c0139b358b308.jpg)
Gohgzvhsfdearm
Google Doc To Pdf Conversion Ruins Formatting Help Docs Editors Community
support.google.com

How To Reset Google Docs Settings
www.guidingtech.com

Google Docs Using Ruler To Create Hanging Indent Youtube
www.youtube.com
How To Change Google Docs Margins Youtube
www.youtube.com
Google Docs Finally Lets You Adjust Margins Per Section And Add Section Breaks
www.androidpolice.com
How To Change Margins In Google Docs Laptop Mag
www.laptopmag.com

How To Change And Control Margins In Google Docs
dowpie.com

How To Control Margins In Google Docs
www.howtogeek.com

How To Make Your Google Docs Easier To Read Using Indents And Spacing Techrepublic
www.techrepublic.com
How To Change Margins On Google Docs
thedroidguy.com

How To Change Margins In Google Docs 2 Different Ways Techplip
www.techplip.com
How To Hide Ruler In Google Docs Youtube
www.youtube.com
Https Encrypted Tbn0 Gstatic Com Images Q Tbn 3aand9gcsznh3tccdguwh5n0yy1wnebprjbn1dy9bt Mabcfzjduiiavzq Usqp Cau
encrypted-tbn0.gstatic.com

How To Become A Formatting Master With Google Docs Upcurve Cloud
www.upcurvecloud.com

How To Change Margins On Google Docs
thedroidguy.com

Google Docs Margin Ruler Image Handling Comments
www.addictivetips.com

Google Docs Margin Ruler Image Handling Comments
www.addictivetips.com
:max_bytes(150000):strip_icc()/handing-indent-ruler-1-2b8c5fed60e74b3495d9de440bfd46bb.jpg)
How To Do A Hanging Indent Google Docs
www.lifewire.com

How To Make Your Google Docs Easier To Read Using Indents And Spacing Techrepublic
www.techrepublic.com
How To Do A Hanging Indent In Google Docs Business Insider
www.businessinsider.com
How To Change Margins In Google Docs Softwarekeep
softwarekeep.com

How To Change And Control Margins In Google Docs
dowpie.com
The Ultimate Guide To Google Docs
blog.hubspot.com

How To Do A Hanging Indent On Google Docs Android Authority
www.androidauthority.com
Https Encrypted Tbn0 Gstatic Com Images Q Tbn 3aand9gcs Avjnks2irgnn9w17iqdmr8wrdxd2skmhaa Usqp Cau

How To Change Margins In Google Docs 2 Different Ways Techplip
www.techplip.com
How To Modify The Side Margin In Google Docs Digital Dexterity Youtube
www.youtube.com

Chromebook Change View In Google Docs Dummies
www.dummies.com

How To Type An Mla Formatted Document In Google Docs Bell High School
www.bellhs.org

How To Change Margins In Google Docs Yourpcfriend Com Margins
yourpcfriend.com

